Monday, November 7, 2016

How to flash Cherry mobile infinix XL stock rom via Custom recovery

Cherry mobile infinix XL stock rom picture
Hello guys today i will teach how to fix Cherry mobile infinix Xl stock rom via Custom recovery

Requirments
[StockRom##download##]
[CWM##download##](unchecked the shield and download)

  1. Reboot to Recovery (CWM/TWRP) (Press the Volume Up and Power button simultaneously)
  2. Wipe Data/factory reset, Wipe Cache Partition, Wipe Dalvik Cache.
  3. Install Zip from SD card
  4. Choose Zip from SD card
  5. Choose "[IP]StockRomV08.zip" 
  6. Install
  7. Wait
  8. Reboot system now

Labels: , , ,

Tuesday, July 26, 2016

How to root Meizu Mx4 and flash custom recovery

How to root Meizu Mx4 and flash custom recovery


 Meizu Mx4 Screenshots 


Requirements:


UNLOCKING PROCESS:
Flash clean stock firmware, do this only on android version: 4.4.2 firmware on MX4 (4.2.8.2A) 
************************************************** ************** (Android 5.0/5.1 firmwares uboot not patch) 

Get ROOT by standard method (flyme account). SuperSu NO NEEDED
Unpack on your disc (on PC) archive with firmware which you used to flash on your MX4 (4.2.8.2A) / M1 Note (4.2.0.5A) VERY IMPORTANT!!!
Place in a folder with unpacked archive (p.3) file "Meizu_Patch.exe" from folder "patcher" of your downloaded archive and open this with administrator rights.
-Theoretically, antiviruses can alarm to packer which patcher was compilated (but Dr.Web is fine) / but antiviruses recommended to be closed.
-If you are afraid about viruses and trojans, skip this step....and all the following.
If all goes well - we see a flashing green "SusseccFully Patched" in the patcher round window - continue.
If no and you see inscription "Patching Failed!", RED - STOP - something goes wrong and if you continue - BRICK!!!

Delete from this folder 2 files: "Meizu_Patch.exe" and "uboot.img.bak".
Create a folder with name "UNLOCK" in phone root directory (SD card)(DCIM folders, Picture, Music, data etc.) and copy in already patched loader file "uboot.img" from firmware folder from PC (where we started our patching (unpacked firmware)).
Pack this firmware (on PC) back in archive (using 7-zip/winrar) with name "update.zip" (default flyme firmwares) - could be useful.

Copy a folder "gscript" together with the contents in phone root directory (SD card).
Install "terminal emulator" on your phone from "gscript" folder.
Open terminal and write
su 
sh /sdcard/gscript/unlock.sh 
*Important!!* Wait 3 minutes for script action
Reboot your phone by command reboot . If it succesfully boot - congratulations, all right.


Further:

*WARNING!!!* All operations of modules flashing (recovery.img, boot.img etc.) doing ONLY BY STANDARD METHODS, by FASTBOOT command "fastboot flash"!! NOTHING ELSE!!
You can flash modified stock recovery from folder "patched-recovery" for MX4/M1 Note (your needs) by command: "fastboot flash recovery patched_recovery.img" and restrict the international version of firmware (in update.zip you can do all changes you want - signature will not check).
*CARE!!* If you flash index I firmware with patched recovery, USE Titanium or others to delete/freeze "System Update" from firmware. OTA UPDATE WILL BRICK YOUR DEVICE!!!
*CARE!!* Patched recovery will be rewritten on the usual stock recovery by first full android load, then after command "fastboot flash patched_recovery.img" turn off your phone and hold button "volume up" (+) and "power" before the phone starts (or delete "recovery-from-boot" as alternative).
You can flash custom recovery - and use it for your needs.
*CARE!!* DON'T try to flash stock meizu firmwares from any custom recovery, we have patched stock recovery for that.
ALWAYS DO A BACKUP!!


VERY IMPORTANT Notes: 
Not allowed "strange" combinations (for example flashing not patched loader and custom recovery). If system goes to bootloop - exit from "half-brick" could be very hard, if it all possible.
Loader patch and reverse packing stock firmwares should be done everywhere - it will save your time and nerves. You should avoid version mismatch of preloader - uboot - boot.img in smartphone firmware. Effects, bugs, lags can be very different.
*IMPORTANT!!* Then, if we flash "custom firmware", it should NOT CONTAINS "uboot.img" and "preloader.bin". All this can be flashed only in stock (modified) firmware, ONLY FROM STOCK or PATCHED STOCK recovery.
"uboot.img" CAN'T BE flashed by fastboot!! Also not allowed doing experiments with "preloader.bin". BRICK probability is very high!!


Labels: , ,

Friday, June 3, 2016

How to install TWRP recovery to SKK Chronus Ace

How to install TWRP recovery to SKK Chronus Ace

SKK Chronus Ace Rooting and Flash TWRP Recovery

In this tutorial will teach you on how to install TWRP 3.0.2 recovery via ADB COMMAND for SKK MOBILE CHRONUS ACE (mt6580 chipset).

REQUREMENTS:
download all the ff:
ADB.rar
TWRP3.0.2
SKK Chronus Ace
PC
USB CABLE

Warning: Rooting can void your warranty! I'm not liable anything happen to your device.

Procedure:
1. first enable developer option go to setting click build number (tap 7 times) now go to developer option turn on usb debugging turn on oem unlocking
OEM UNLOCKING SCREENSHOT


2. To unlock bootloader Open the folder of ADB Then open a CMD window inside that folder. To do that, Shift + Right click on any empty white space inside the folder and then select Open command window here. 
3. Boot your Phone into Fastboot by Turning off your phone, Then press and Hold volume+ & Power then choose fastboot by navigating using volume+ and volume- as OK.  
Confirm whether fastboot is working. run the following command in command window. Type fastboot devices  
fastboot-devices-screenshot

4. It should return your device serial number, if not you need to make sure your drivers are installed correctly. Once you've confirmed your fastboot connection to unlock the bootloader type the commandfastboot oem unlock
 fastboot oem unlock
5. You’ll see a new screen on your device. Choose Yes and confirm it. If it says your bootloader is unlocked you can proceed :
6. Type the command fastboot reboot 
fastboot reboot screenshot

then wait untill it boots completely on Your Homescreen.

FLASHING TWRP 3.02 recovery VIA FASTBOOT
  1. Open the folder of ADB then move TWRP or recovery.img in ADB folder.
  2. Then open a CMD window inside that folder. To do that, Shift + Right click on any empty white space inside the folder and then select Open command window here.
  3. Connect your Android device to the PC. Type the following into the command window to boot your device into bootloader/fastboot mode by using this command adb reboot bootloader└ If your asks for permission to “Allow USB debugging”, tap OK.
  4. Once your device boots into bootloader mode, type this into the command line. fastboot flash recovery recovery.imgfastboot flash recovery
  5. └ Here modify recovery.img with the name of your TWRP recovery .img file.
  6. Once TWRP is successfully flashed on your device, type this final command to reboot your device. fastboot reboot
  7. fastboot reboot screenshot
  8. If it occurs Bootloop or Error Mounting On TWRP, boot it again in fastboot mode then you have to format your phone by typing this Command
fastboot devices fastboot erase userdata fastboot erase cache fastboot reboot
How to root just proceed here.
Credits:
Star Shin Gacuma
Janeth VIllafuerte
SKK Chronus Ace group


Labels: , , ,

Sunday, February 7, 2016

[Download][Recovery] Collections Of Custom Recovery For All Infinix Phones.

This is the collections of custom recovery available for all infinix android Smartphone .Your phone must be rooted before you can install a recovery, you can easily use kingroot.apk to root your phone. All thanks and credits goes to the uploaders of this recovery img files most especially the infinix forum
Read more »

Labels: ,

Saturday, October 31, 2015

How to root and flash Custom Recovery for MyPhone My 31

How to root and flash Custom Recovery for MyPhone My 31

My Phone My 31 Specs


How to Root
Requirements:
Kingroot4.1.zip (download and extract)


Note: Need internet connection.
- Download and Install Kingroot 
- Open Kingroot  and tap "Try To Root"
- Wait to finished
- Reboot phone when done.

Replace Kinguser to SuperSU
- Download and Install supersu_me > Download Here
- Open supersume ( tap "allow" if kinguser pops up)
- Tap big circle
- Wait to finished
- Done.

Custom Recovery Installation
Requirements:

Using Rashrtools > Download on Playstore
For CTR recovery image > get here
For Philzrecovery image > get here

Note: Copy ctrkkrecovery.img or philzkkrecovery.img to sdcard\android -no need to rename

1. Open Rashrtools 
2. Tap "Grant" if supersu pops up
3. Tap "I know the risk"
4. Tap "Recovery from Storage"
5. Goto sdcard\android and Tap ctrkkrecovery.img or Philzkkrecovery.img
6. Reboot into recovery now  tap > "Yes Please"
7. magrerestart sya at ppunta sa custom recovery. touch screen po sya - meron keys sa bottom, Bilog pang enter.


Note: Tap BILOG sa bottom kapag nkatapat sa  "Reboot Sytem" at wag ma scroll for security reason. Mag oopen na Phone nyo. done.

Part3 Phone Backup > Battery atleast 50% sdcard free space atleast 3G up.
Download Quickboot (blu may kidlat sa gitna) sa playstore - rebooter po sya

1. Open Quickboot
2. Tap Recovery - kusa na sya restart at pupunta sa custom recovery (CTR/PHILZ/TWRP/CWM)
3. go "Backup/Restore"
4. choose "Backup to storage/sdcard1" - para sa sdcard sya mag save
5. Wait to see complete
6. Reboot system when done.


Credits:
Alesha Perales
My31 Group

Labels: , ,

Thursday, October 29, 2015

How to root Zenfone 2 in 2 ways and Install Custom Recovery (CWM)

How to root Zenfone 2 in 2 ways and Install Custom Recovery (CWM)

 Rooting Zenfone 2 in 2 ways and Install Custom Recovery (CWM) Main Picture


Requirements:


  1. Download Pre-rooted image from here. Check the model number of your Asus Zenfone 2 and download the pre-rooted image for your model number. To check model number go to Settings > About Phone > Model name. 
  2.  DRIVER
  3. Minimal ADB and Fastboot Tools

How to install Minimal ADB and Fastboot tools


  1. From the downloaded folder open 2_setup.exe and start the installation process by following on-screen instructions.
  2. Once you have installed it go to C:\Program Files (x86)\Minimal ADB and Fastboot (for 64 bit systems) or C:\Program Files\Minimal ADB and Fastboot (for 32 bit systems) and open py_cmd.exe by right clicking on it and selecting Run as Administrator.
  3. Follow the on-screen instructions and Minimal ADB and Fastboot tools will be installed on your system.

How to root Asus Zenfone 2

Method 1.
You are now ready to root Asus Zenfone 2. Simply follow the step by step guide shared below to root Asus Zenfone 2.
  1. Extract the downloaded pre-rooted image for your Asus Zenfone 2 and place it on your desktop.
  2. Connect your Asus Zenfone 2 with your computer using a USB cable.
  3. Now open command window on your PC. To open command window press Shift Key + Right mouse click and select open command window here This will open command window on your computer.
  4. Once command window is opened enter the command shared below which will put your device in bootloader mode.
adb reboot bootloader
  1. Rename the image which you extracted before in Step 1 to img
  2. Now you have to flash the image on your Asus Zenfone 2. To do this you have to enter the command shared below in the command window.
fastboot flash system system.img
  1. It will take a couple of minutes to flash the image. Once it is flashed enter the command shared below which will reboot your device.
fastboot reboot
Your Asus Zenfone 2 smartphone will reboot. Enjoy!
How Install Custom Recovery (CWM) temporarily
Method 2.
Requirements:
  1. Download all the files containing temporary CWM package and extract the fastboot.rar to desktop.
  2. Turn on USB Debugging and then connect your phone to the PC.
    USB Debugging can be accessed by going to Settings> About> Software Information> Tap Build number 7 times. Then go 2 steps back and choose Developer options> USB Debugging.
  3. Copy SuperSU246.zip  to the  SD card.
  4. Run cai_dat_CWM.bat. In the command window, type ACCEPT (in capitals) and hit Enter.
  5. Type T4 and hit enter again. Your phone should restart infastboot mode, take the commands and then load the temporary CWM. It will take about a minute for this to complete.
  6. When the phone boots CWM Recovery, you can disconnect the device from the PC. Then select Install Zip by using Volume Keys to highlight and Power Key to select.
  7. Select choose zip from external sdcard and then select the SuperSU246.zip  file copied to the SD card in step 4. Select Yes – Install SuperSuxxx.zip to start flashing.
  8. When done, reboot your phone and that’s it. 
  9. Verify the root by installing any root checker app from the Play Store.

Note: This work tested in Zenfone 2 with version ZE550ML & ZE551ML

Labels: , ,

Wednesday, October 28, 2015

How to root and install Custom Recovery in Sony Xperia Z2/Z3

How to root and install Custom Recovery in Sony Xperia  Z2/Z3 
Rooting and install Custom Recovery in Sony Xperia  Z2/Z3  Main Picture
Warning: Rooting can void your warranty!

Requirements:
Download 
Root.apk


Procedure:
1-) Copy SuperSu.zip in phone memory.
2-) Go to Settings >Security > Unknown sources make it open. Enable USB Debugging Just go to Settings > Developer Options > USB debugging make it on. (If developer options not found go to Settings > About phone and click Build number (7 times) This could activate Developer Options
3-) Install Root.apk Allow all messages.
4-) Install Recovery.apk
5-) Install Busybox.apk
6-) Open KingRoot and Tap Root button.
6-) Wait to complete. İf you see a chinese blue button just tap it. allow all the pop up messages.
7-) Wait till blue tick symbol into 100%.
8-)  KingUser is now installed. Then Just ignore it.
9-) Open busybox and install it. When you see It looks like busybox installed successfully congratulations message.
10-) Open XZRecovery and click Install Recovery .
11-) Phone will be reboot and recovery will open.
12-) Tap Install > find SuperSU.zip in phone memory then tap and install it.
13-) Reboot your phone.
14-) You can see SuperSU in menu and check with rootchecker your root access.
15-) You are now rooted. Enjoy!.
16-) You can now uninstall KingRoot, busybox, Xzrecovery app.

NOTE: XPERİA Z2, Z3 and Z3C ANDROİD 5.0.2 (23.1.A.1.28) TESTED AND SUCCESSFULLY.
NOT COMPATİBLE WITH ANDROİD 5.1

Credits:
XDA

Labels: , , ,

How to root and Install Custom Recovery in Samsung galaxy S5

How to root and Flash Custom Recovery in Samsung galaxy S5


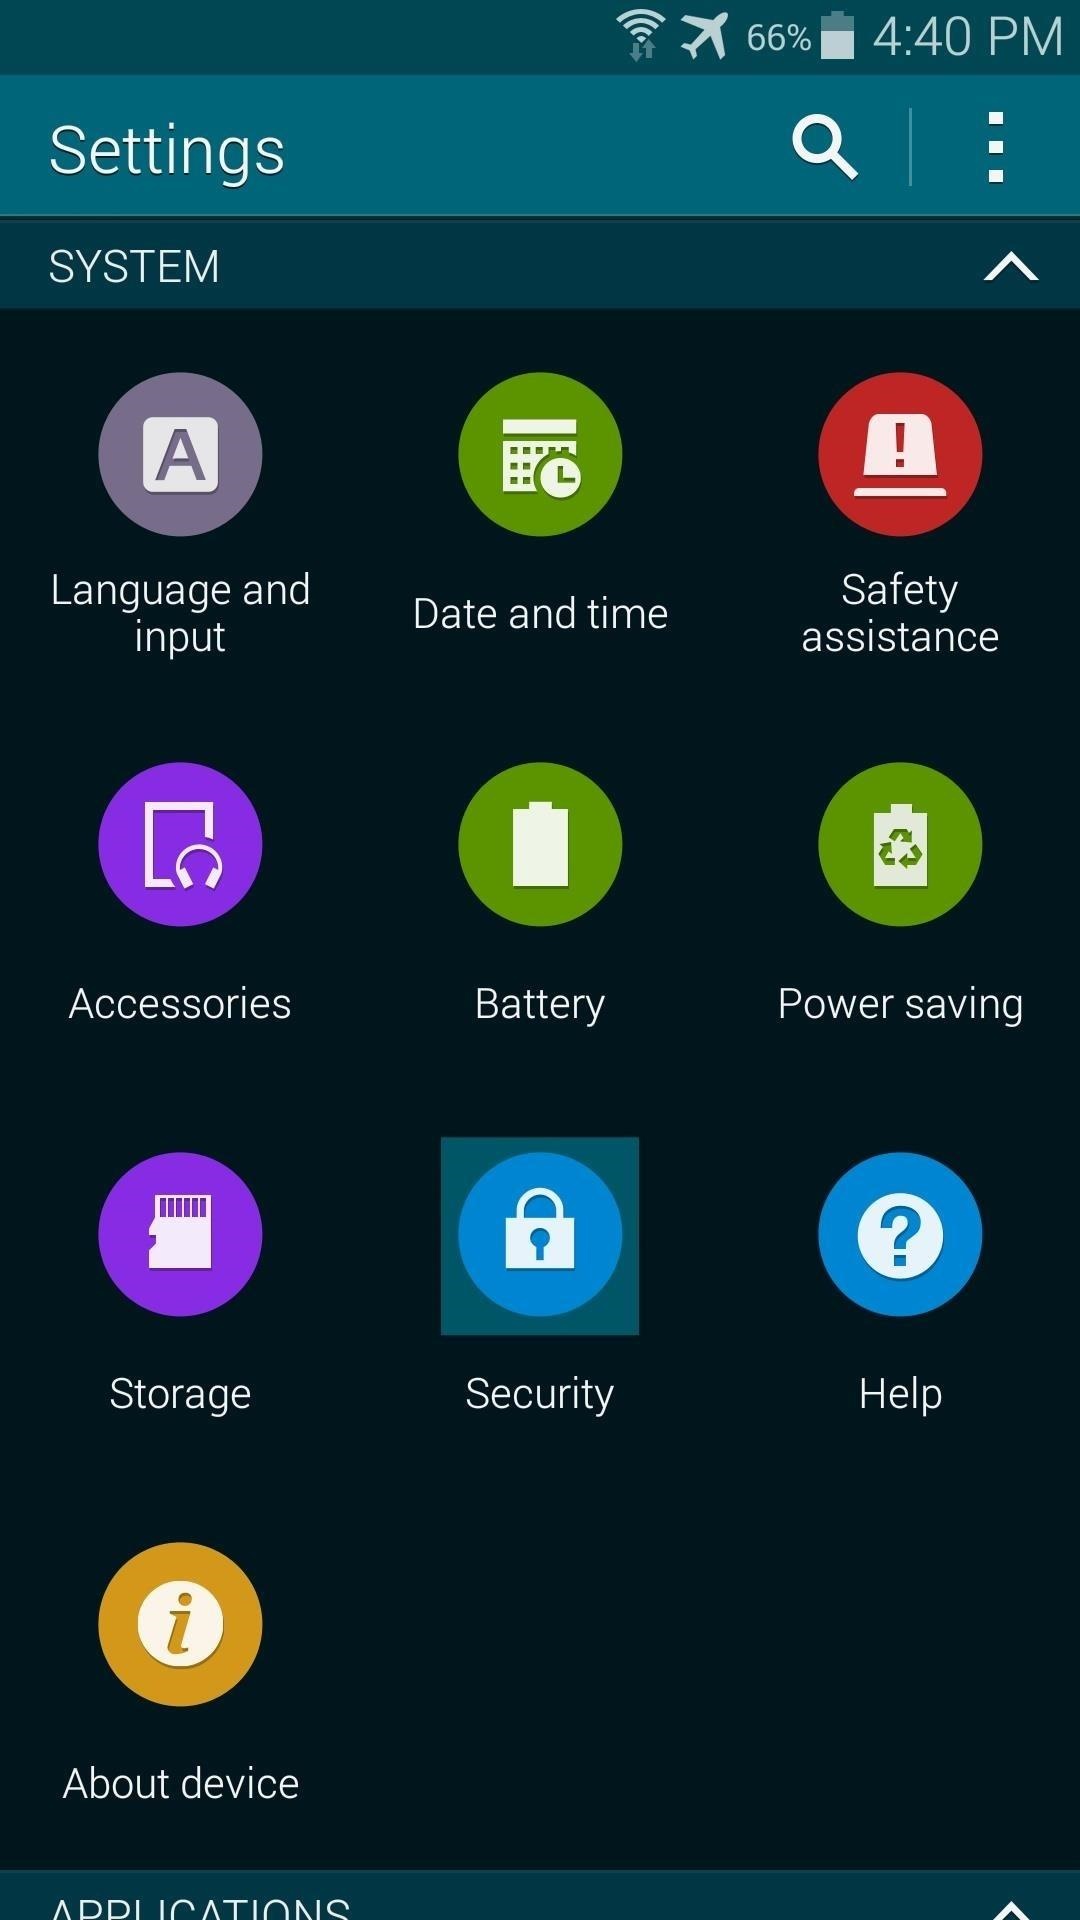
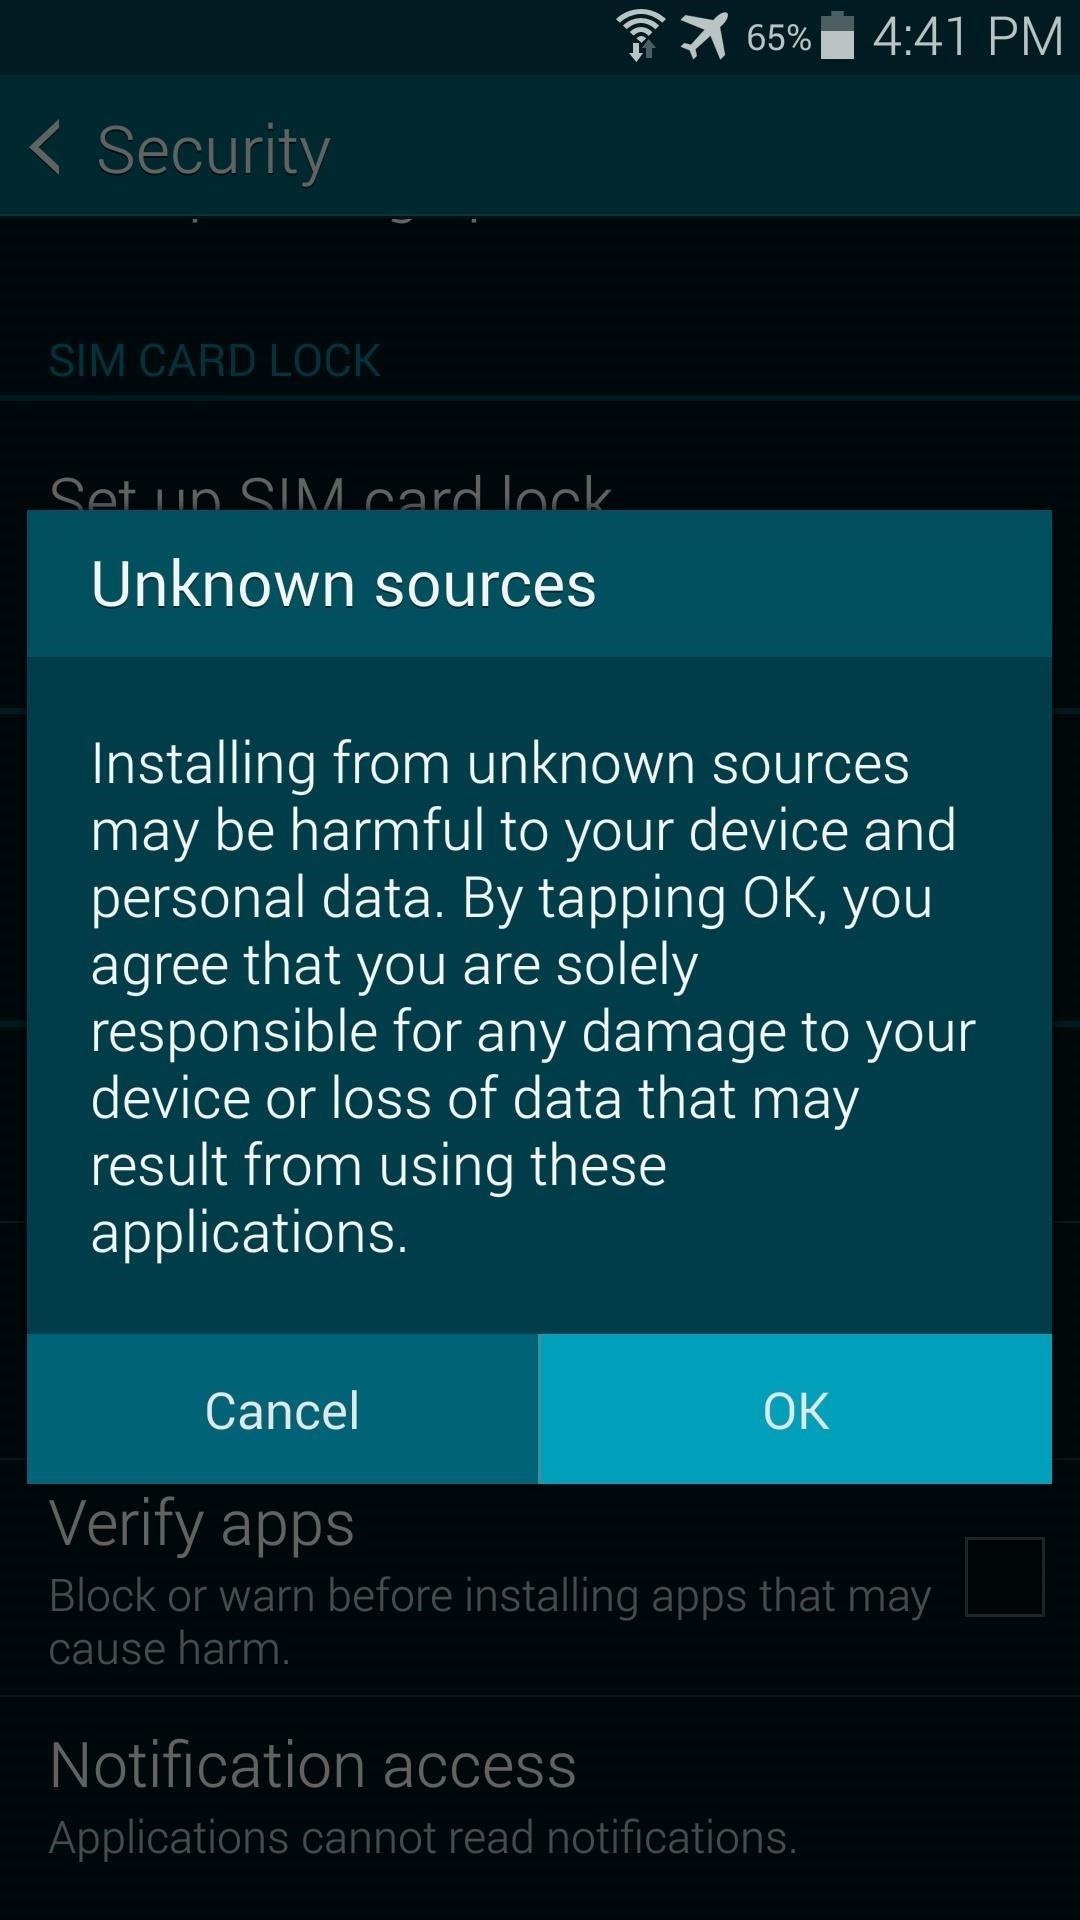
Step 1: Enable Unknown Sources

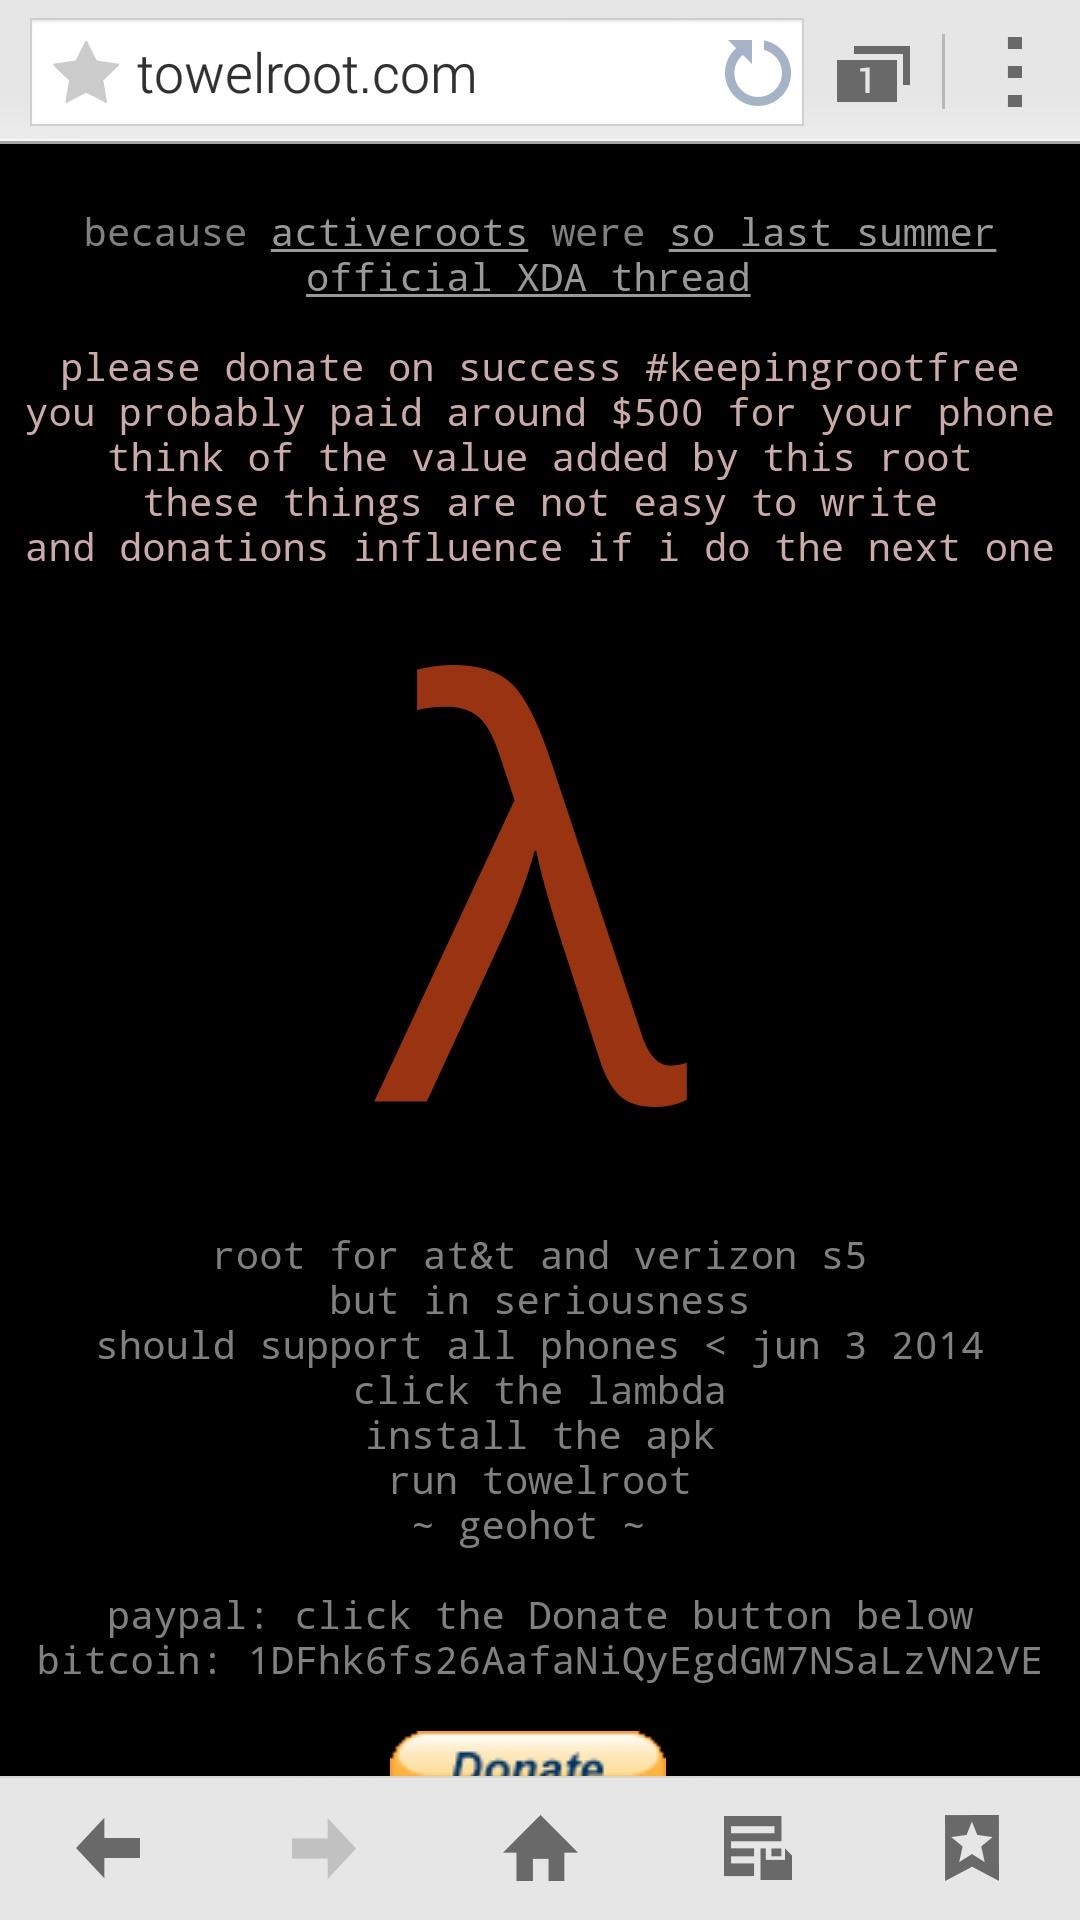
Step 2: Download Towelroot

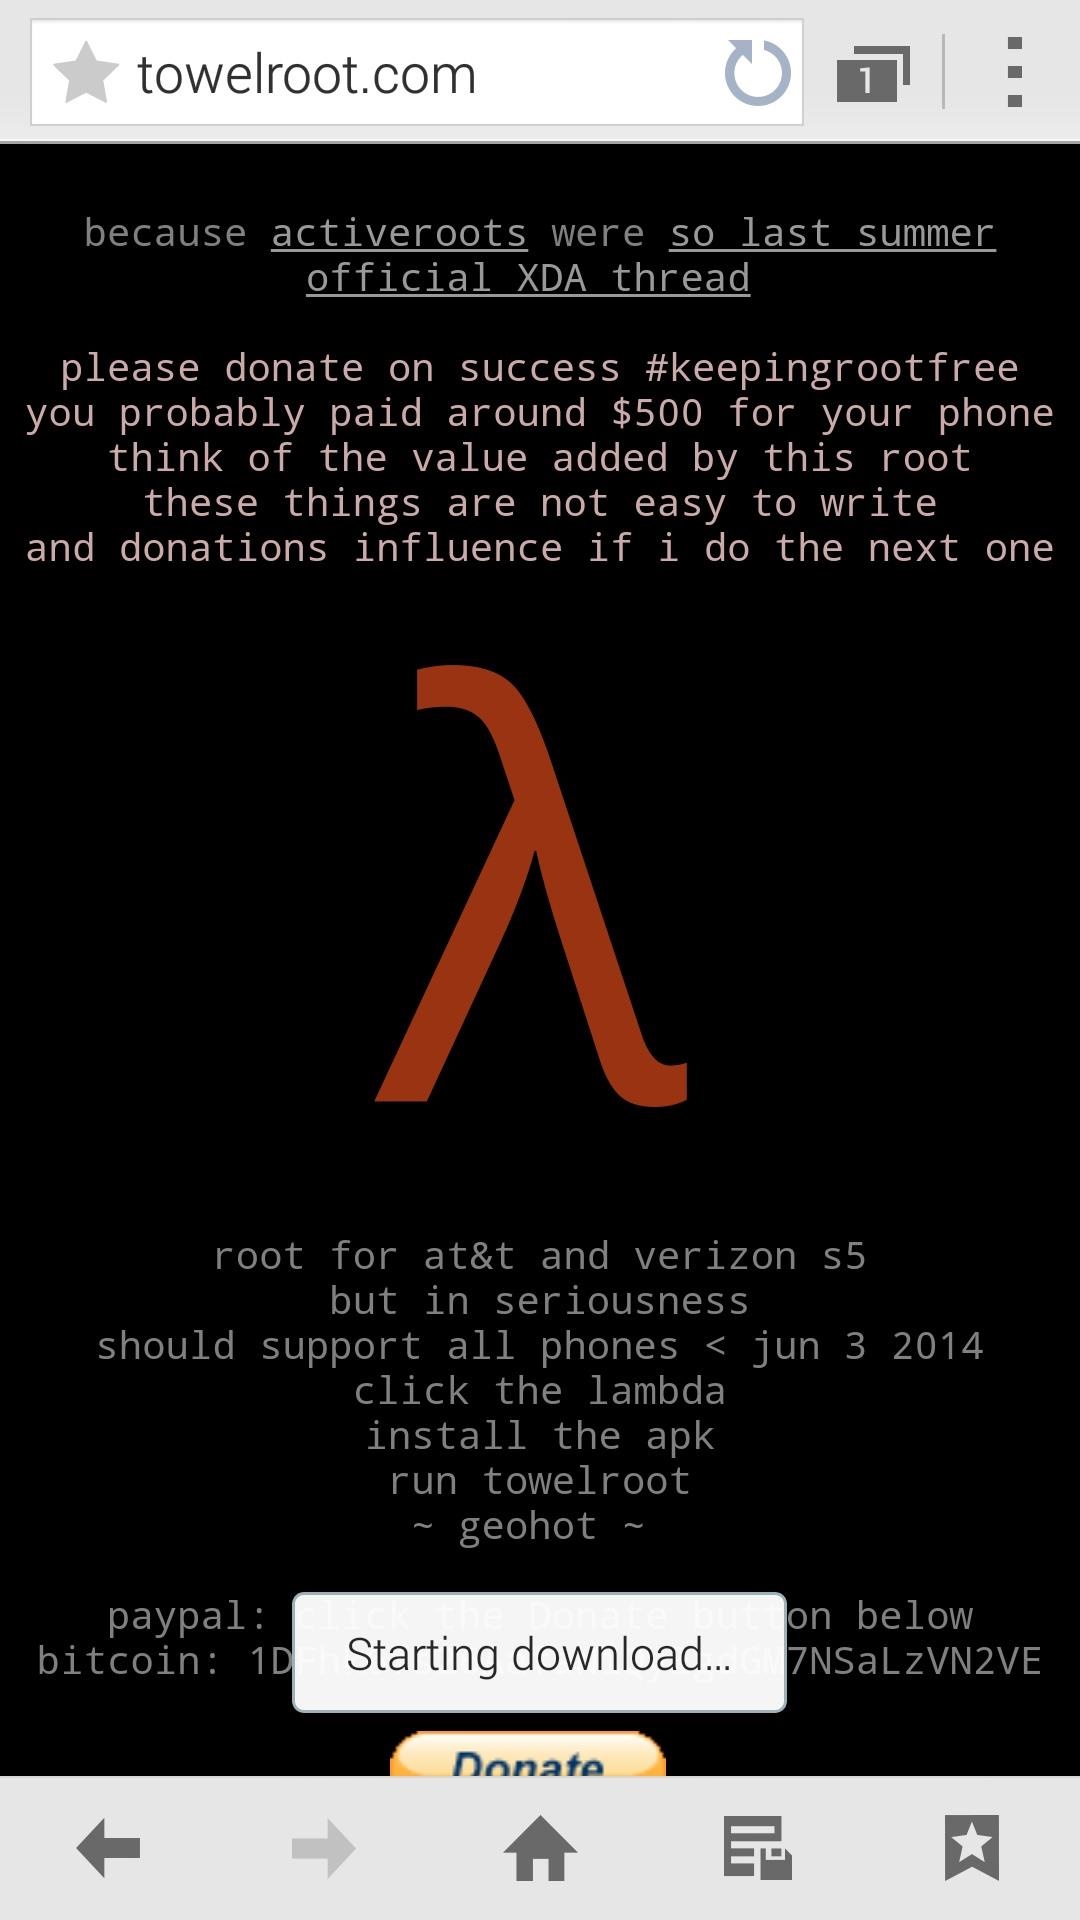
Hotz has made his root exploit app available to all through its website. Just open your Galaxy's web browser and navigate to towelroot.com. From here, tap the lambda symbol to download the installer file.
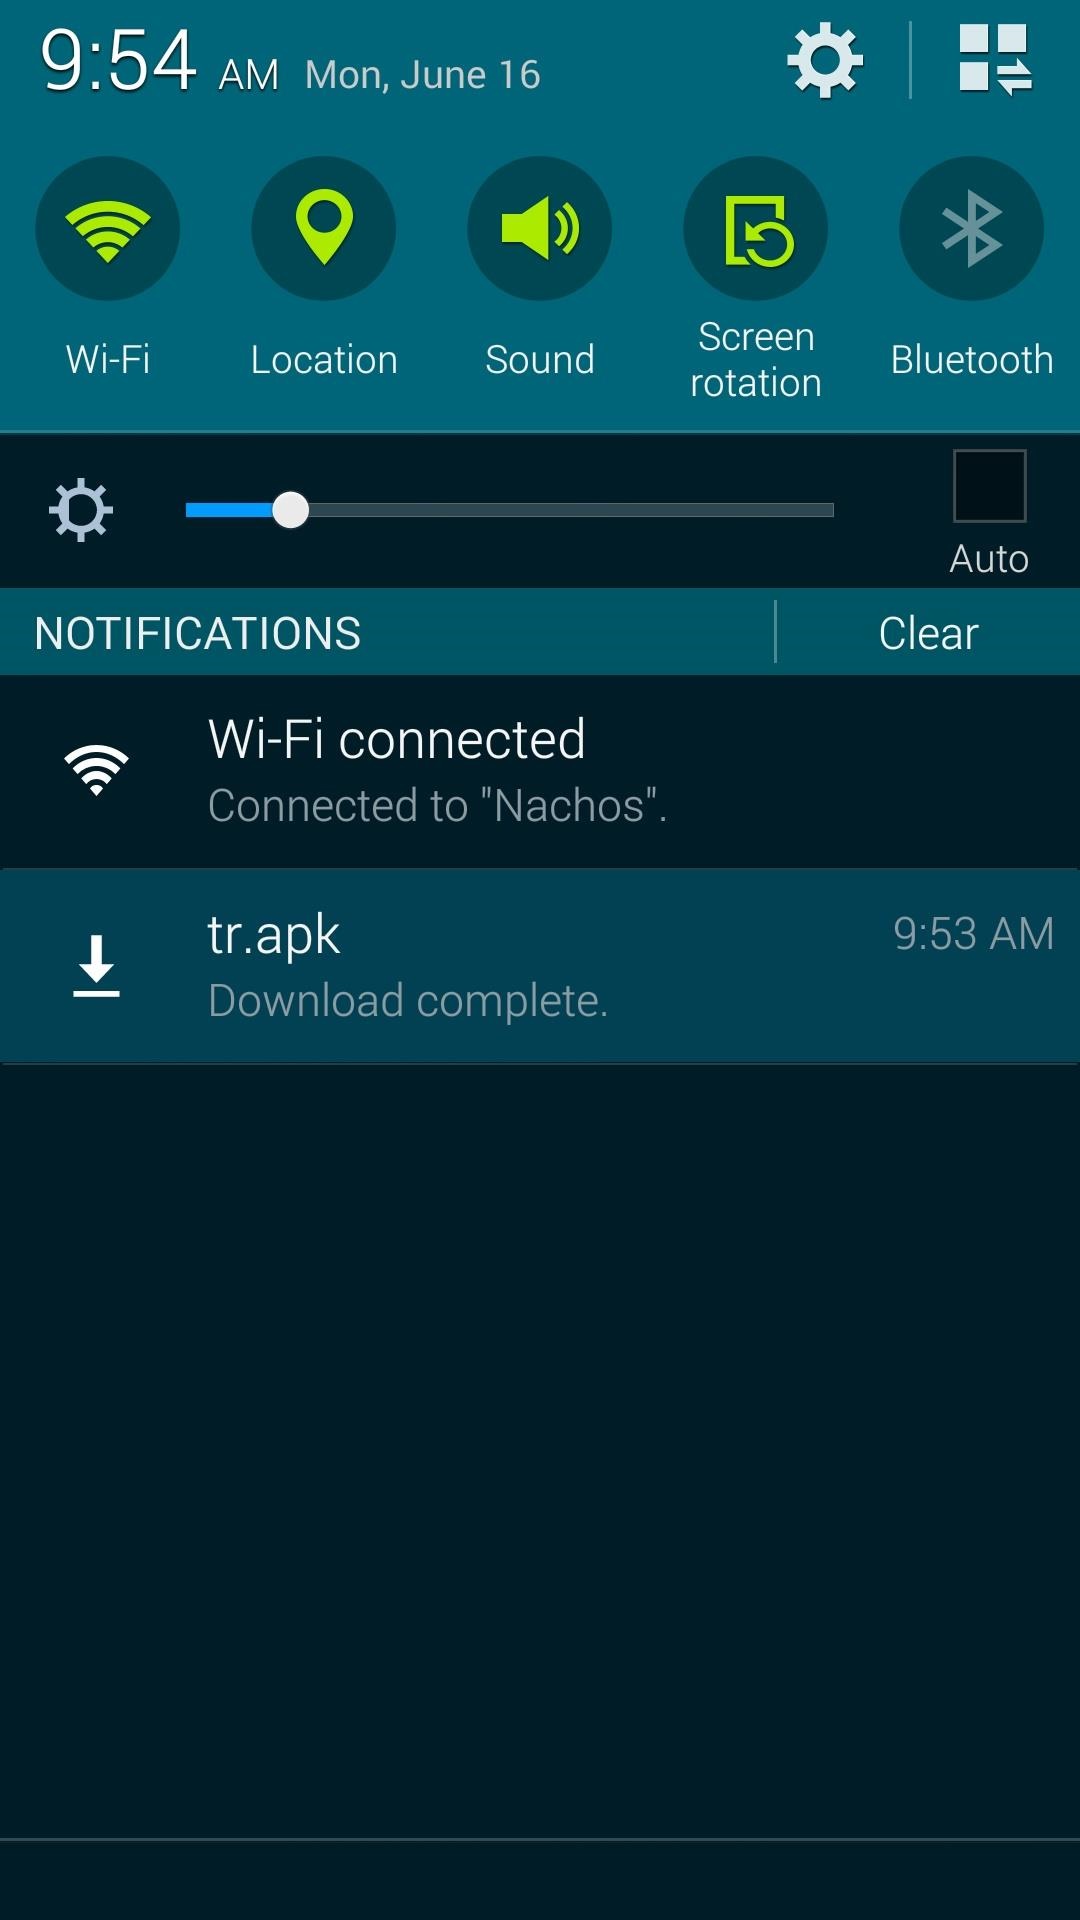
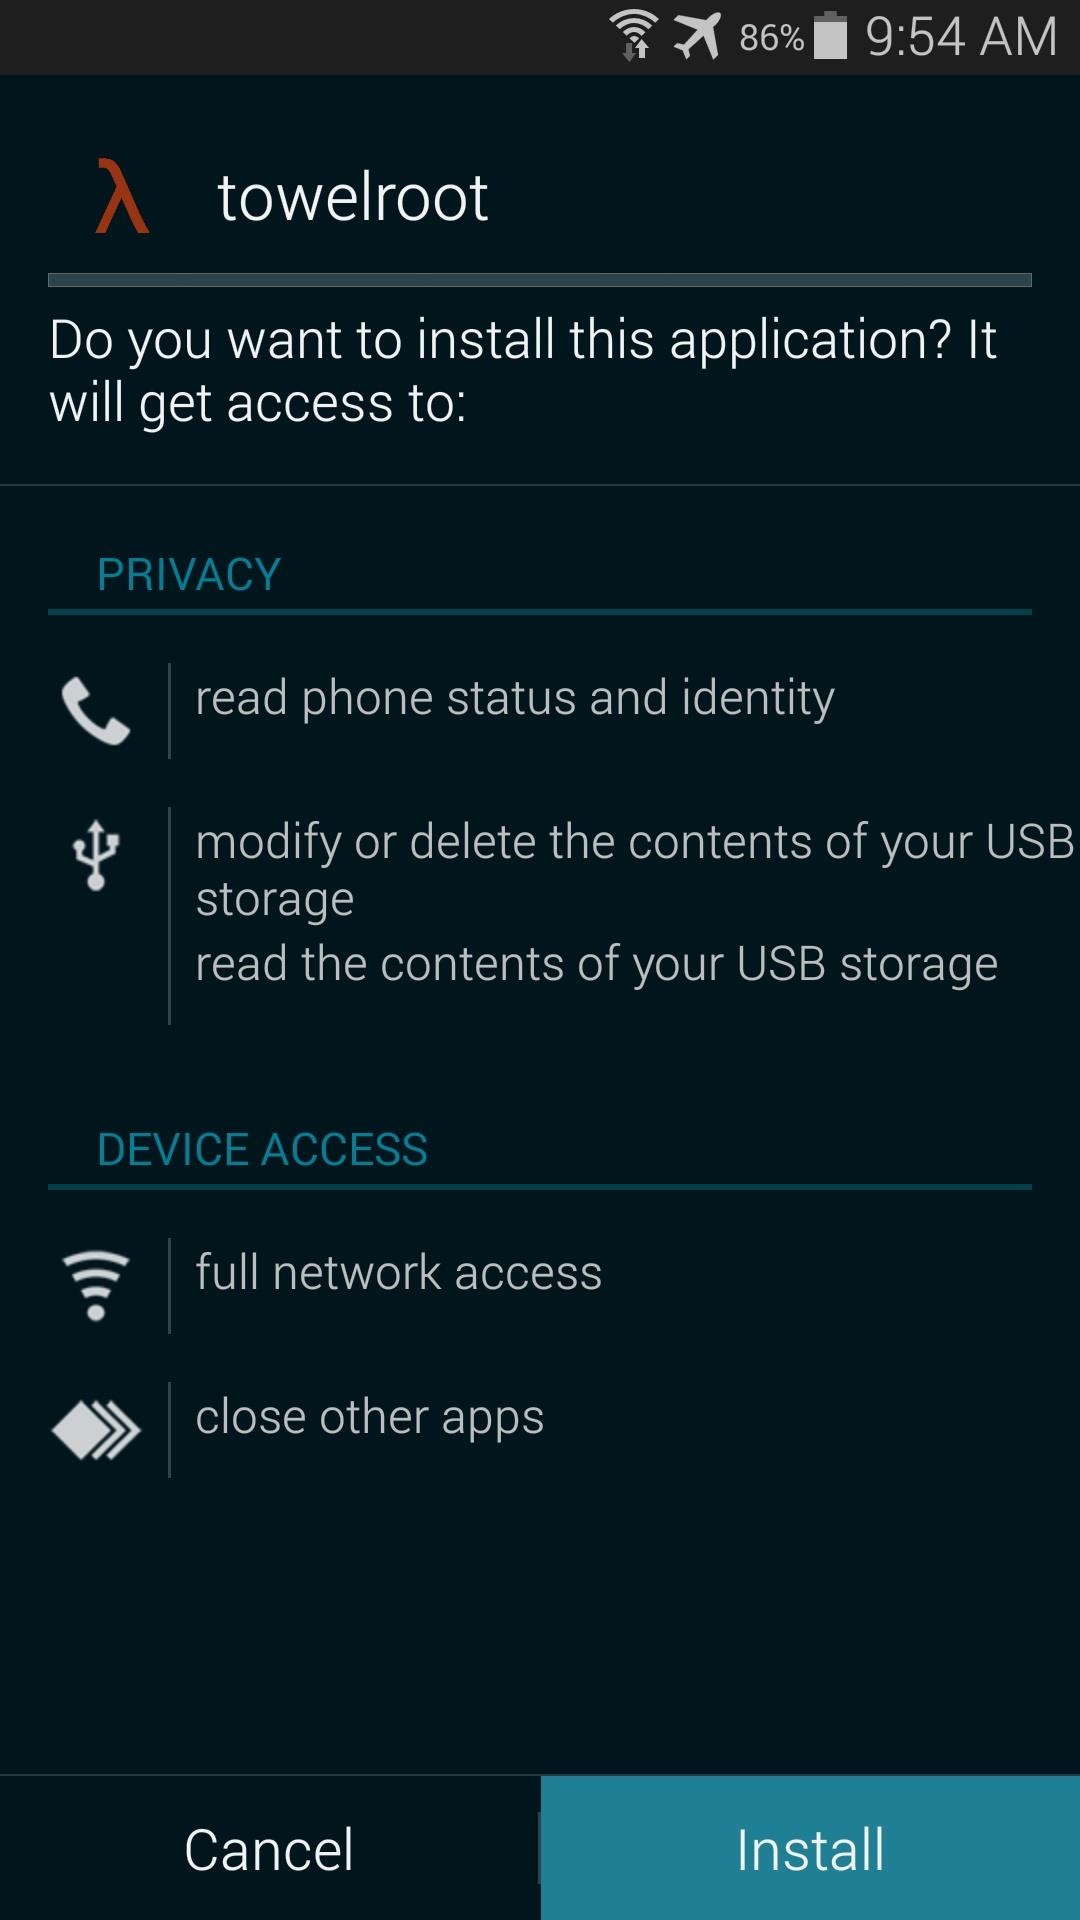
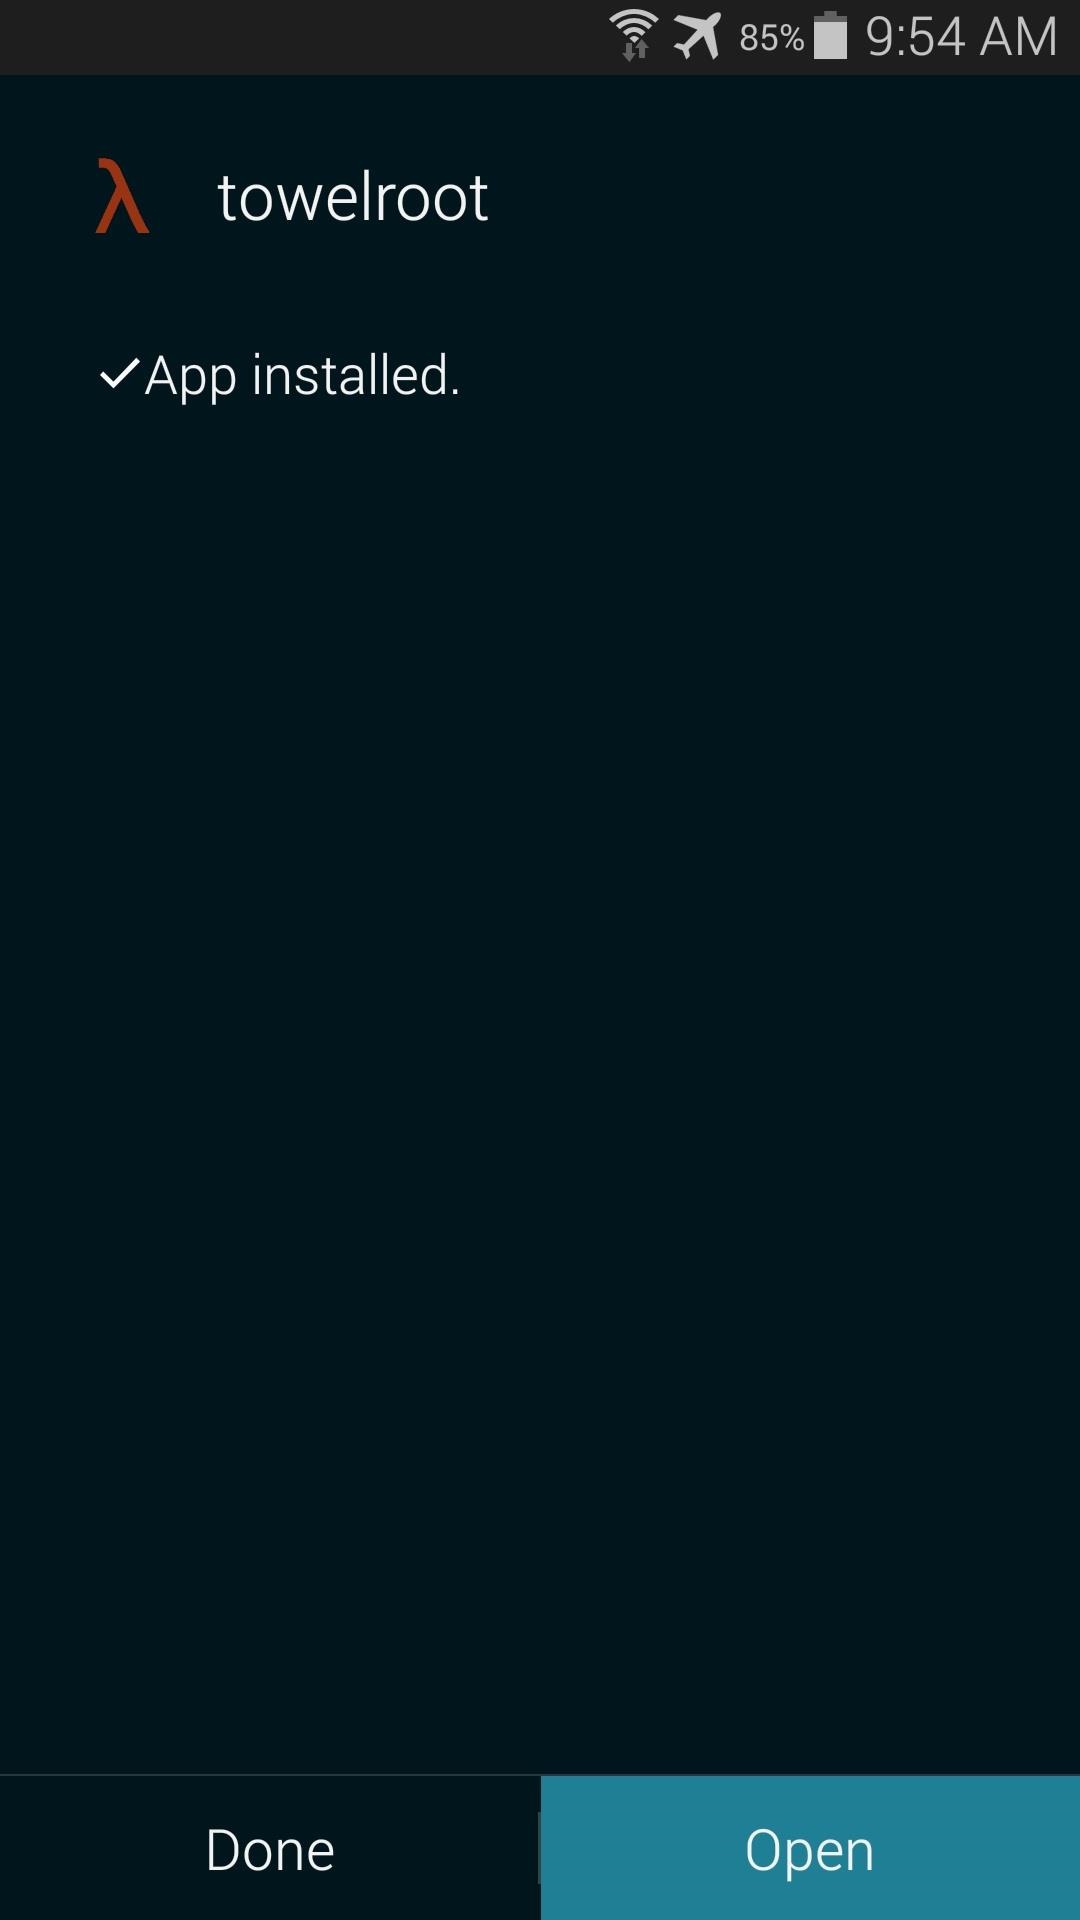
When the download is finished, tap the notification to initiate the install process. From here, hit Install, and when finished, tap Open.

Step 3: Root Your Device

When you open Towelroot, you'll notice that there's not very much to the app's UI. Just a single button that says make it ra1n.
Just tap this button and you're device will be rooted. That's it.
Give the app about 15 seconds to perform Pinkie Pie's exploit and copy over the necessary files, and your phone will automatically reboot. When it comes back up, you'll be rooted. If you know you're way around an Android device, then all of the steps above shouldn't take longer than 20 seconds, though it will vary from device to device.

Step 4: Verify the Root Was Successful (Optional)


Galaxy S5 Install Custom Recovery

  1. Download and Install the Samsung USB Drivers
  2. Download and Extract Odin v3.07 onto your PC
  3. Download the Odin Flashable TWRP .img File
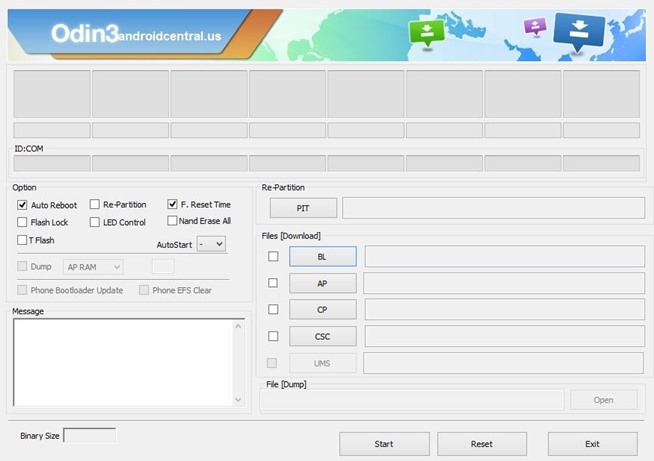
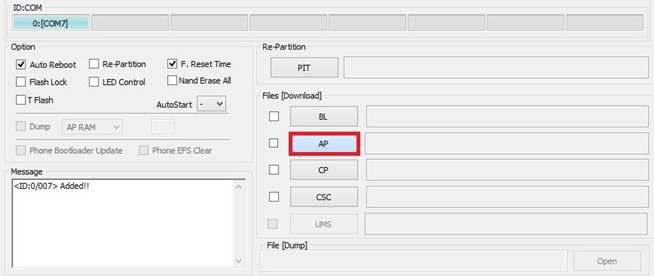
  4. Launch Odin and Click on the PDA ButtonHow to root and Install Custom Recovery in Samsung galaxy S5 Screenshot 11
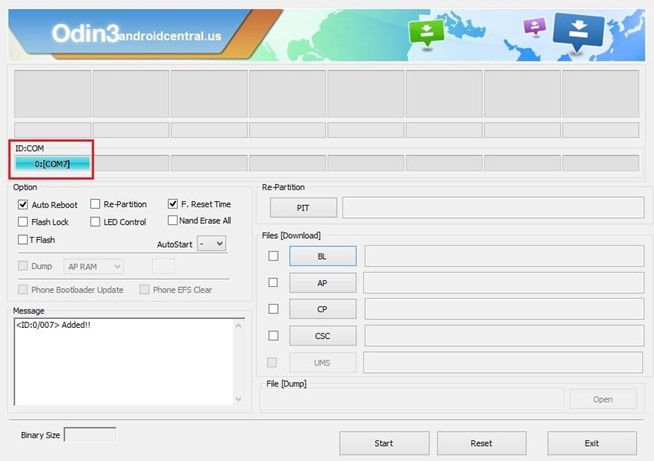
  5. Next, use a USB cable to connect your phone to your PC. After a few seconds, Odin will recognize your phone and a blue box will appear under the ID:COM field.How to root and Install Custom Recovery in Samsung galaxy S5 Screenshot 12
  6. Browse and Select the TWRP .img File From Step 3
  7. Look at the Check Boxes on the Left Side of Odin
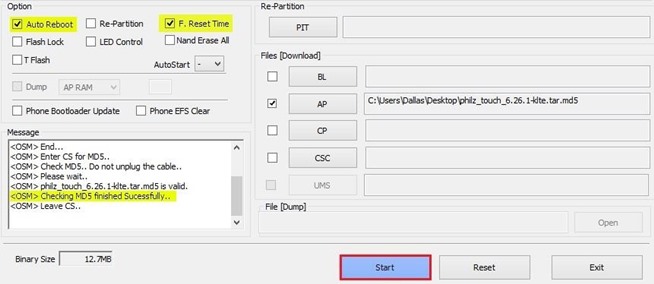
  8. Make Sure Only ‘F. Reset Time’, PDA and ‘Auto Reboot’ are SelectedHow to root and Install Custom Recovery in Samsung galaxy S5 Screenshot 13
  9. Power Down the Galaxy S5
  10. Boot the Galaxy S5 into Download Mode
  11. When in Download Mode, Connect the Galaxy S5 to the PC via a USB Cable
  12. When Odin Recognizes the Galaxy S5, Click on the Start ButtonHow to root and Install Custom Recovery in Samsung galaxy S5 Screenshot 14
  13. Wait for Odin to Complete the Process.
Note: In this image I've use philz recovery but still the same process for TWRP.

Credits:
Hotz


Labels: , ,